


Achieving the glass hair look is a commitment.
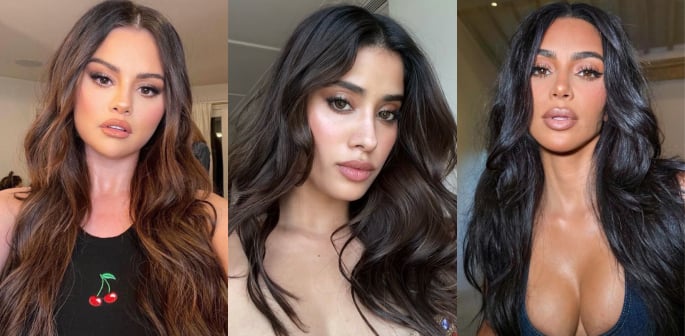
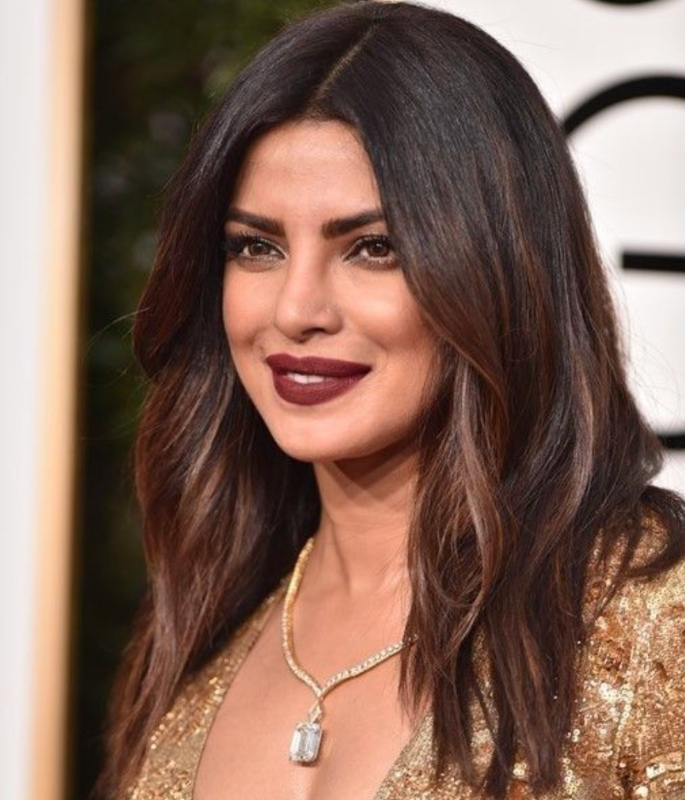
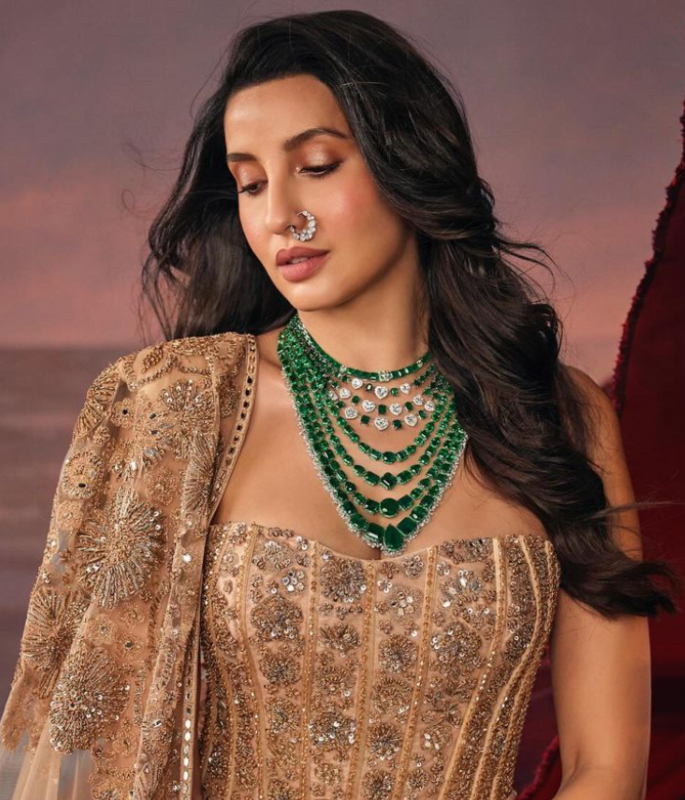
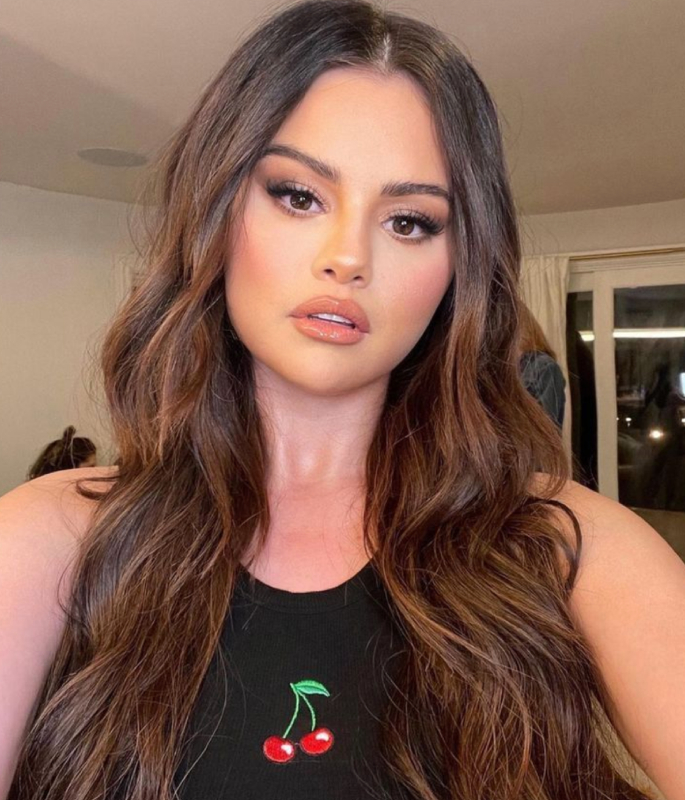
Glass hair has become a beauty phenomenon, cherished for its smooth, ultra-shiny, mirror-like finish that looks straight off the runway.
This style is all about achieving a flawless, reflective surface on your hair that gleams with healthy radiance.
Originating from the slick styles seen on models and celebrities, glass hair is a way to make a bold yet sophisticated beauty statement.
While it looks like something you’d need a professional stylist to achieve, the truth is, with the right tools and techniques, you can recreate this look at home.
In this guide, we’ll walk you through ten essential steps to get your hair sleek, shiny, and ready to turn heads with a stunning glassy finish.
Start with a Fresh Cut
 The first key to nailing the glass hair look is a clean, precise haircut, ideally with blunt ends that reflect light evenly.
Blunt ends give hair a structured shape that prevents fraying and enhances smoothness, which is crucial for achieving that mirror-like shine.
While a bob is a popular choice for glass hair, any length works as long as it’s well-maintained and free from split ends.
Regular trims will keep your hair looking fresh, which is essential for reflecting light and maintaining that smooth, glossy appearance.
If possible, book a haircut every six to eight weeks to ensure your ends stay healthy and intact.
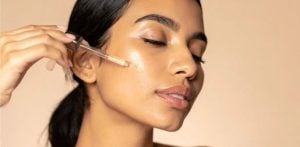
Deep Condition for Smoothness
 Deep conditioning is a non-negotiable step for glass hair since hydration is key to a sleek, smooth finish.
Weekly treatments with a high-quality hair mask or deep conditioner can make a significant difference in the look and feel of your hair.
Look for products with moisturising ingredients like keratin, amla oil, or shea butter, which help to repair any damage and lock in essential moisture.
When applying, make sure to work the product through the lengths and ends, letting it sit for at least 15–20 minutes for maximum absorption.
This step not only softens your hair but also primes it to reflect light, giving it that glassy, high-shine appearance.
Use a Heat Protectant
 Heat styling is essential for glass hair, but it can lead to damage without proper protection, so using a heat protectant is a must.
Heat protectants create a barrier around each strand, locking in moisture and preventing frizz caused by hot tools.
Look for a lightweight product that offers protection and adds a touch of shine.
Apply it evenly from root to tip, combing through to distribute, as this will safeguard your hair during blow-drying and flat-ironing.
A heat protectant will not only keep your hair looking glossy, but it will also maintain its health and smoothness over time.
Blow-Dry in Sections
 Blow-drying your hair in sections ensures that every part of your hair receives the same level of attention, resulting in a uniform, polished look.
Start by dividing your hair into four to six sections, depending on thickness, and work with each section individually.
Using a paddle brush or round brush, direct the blow-dryer from roots to ends to help lay down the hair cuticle for a sleek finish.
Set your blow-dryer to medium heat with a cool setting for the final pass to lock in the style and reduce frizz.
This technique provides a smooth, frizz-free base, creating the ideal foundation for the glass hair look.
Straighten with a Flat Iron
 A flat iron is essential to seal the hair cuticle, which is the secret to achieving that glossy, glassy effect.
Opt for a high-quality flat iron with ceramic or tourmaline plates, which distribute heat evenly to avoid hot spots and minimise the risk of damage.
Start with one-inch sections, gliding the flat iron slowly from roots to tips to ensure every strand is perfectly smooth.
For the best results, keep your flat iron set at a medium temperature—too high can cause dryness, which detracts from the shine.
This step is what ultimately gives your hair its sleek, mirror-like quality, transforming it into a true glass hair masterpiece.
Add a Shine Serum
 A shine serum is the finishing touch to make your hair gleam and take on that unmistakable glassy finish.
After straightening, apply a few drops of serum or glossing oil to your hands and lightly run them over the lengths of your hair, concentrating on the ends.
Choose a serum with light oils, like argan or jojoba, which enhance shine without making hair feel heavy or greasy.
Work the serum in with your fingertips to ensure even coverage without weighing down your strands.
This step not only adds instant shine but also provides lasting smoothness, giving your hair that reflective, runway-ready finish.
Tame Any Flyaways
 Flyaways can disrupt the smooth, polished appearance of glass hair, so taming them is essential for a flawless look.
Use a tiny amount of styling cream or gel on your fingertips to gently smooth any stray hairs along your part and hairline.
Alternatively, a clean toothbrush sprayed with a touch of hairspray is perfect for targeting small flyaways without disrupting your style.
Focus on areas where light hits the most, such as the crown and hairline, to ensure maximum shine and a clean finish.
This attention to detail keeps your look refined, making your glass hair appear professionally styled.
Use a Boar Bristle Brush
 A boar bristle brush is an excellent tool for distributing your hair’s natural oils from roots to ends, enhancing shine naturally.
After applying your serum, brush through your hair with gentle strokes to smooth and add a final layer of polish.
The densely packed bristles flatten the cuticle layer, reducing frizz and helping each strand lie flat for a uniform look.
Be sure to use gentle pressure to avoid breaking hair or disrupting your style, as boar bristles are designed to enhance shine without causing static.
Incorporating a boar bristle brush into your routine can make a noticeable difference in the smoothness and gloss of your hair.
Finish with a Glossing Spray
 Glossing sprays are specifically formulated to give hair a high-shine finish without weighing it down, making them perfect for completing the glass hair look.
Hold the spray at a distance of about 12 inches from your hair and apply a light mist, concentrating on the ends and mid-lengths.
Choose a product that’s lightweight and non-greasy to maintain the sleekness of your style.
Avoid spraying too close to prevent oversaturating your hair, as this can make it look greasy rather than glossy.
This final step enhances shine, providing a mirror-like finish that elevates your glass hair to a truly runway-ready style.
Maintain with Regular Touch-Ups
 Achieving the glass hair look is a commitment, as maintaining its glossy shine requires consistent care.
Incorporate regular deep conditioning treatments, avoid excessive heat styling, and keep a small amount of serum on hand to refresh your shine between washes.
When frizz or dullness appears, a quick pass with a flat iron or reapplication of a lightweight shine serum can bring back the gloss.
Regular trims every six to eight weeks will also keep your ends looking sharp and smooth.
By following these touch-up practices, you’ll be able to enjoy that sleek, glassy shine long after the initial styling.
Glass hair is an alluring style that combines elegance with a modern, glossy finish that stands out in any setting.
Though it may seem like an intimidating look to achieve, following these steps can help you create a flawless glass hair look right at home.
From a precise cut to the right products and styling techniques, each part of the process contributes to a high-shine, polished result.
By embracing these steps and maintaining your hair regularly, you can enjoy sleek, reflective hair that looks effortlessly chic and sophisticated.
So go ahead and try out these tips to transform your hair into a sleek, runway-ready masterpiece with the ultimate glassy finish!